


How to install flooring in a food van trailer?
Aug 28, 2025
Leave a message
Hey there! If you're in the food van trailer business, you know how important it is to have a good floor. It's not just about looks; it's about durability, safety, and hygiene. As a food van trailer supplier, I've seen it all when it comes to flooring. In this blog, I'll share with you how to install flooring in a food van trailer.
Step 1: Choose the Right Flooring
The first step in installing flooring in your food van trailer is choosing the right type of flooring. There are several options out there, but you need to pick one that suits the specific needs of a food van.
- Vinyl Flooring: This is a popular choice for food vans. It's affordable, easy to clean, and comes in a variety of colors and patterns. Vinyl can withstand spills, stains, and heavy foot traffic, which are common in a food service environment. You can check out some vinyl flooring options at your local home improvement store or online.
- Epoxy Flooring: Epoxy is a durable and chemical - resistant option. It creates a seamless surface that's easy to sanitize, making it great for food safety. However, it can be more expensive and requires professional installation in some cases.
- Rubber Flooring: Rubber is soft underfoot, which is great for employees who are on their feet all day. It also provides good traction, reducing the risk of slips and falls. Rubber flooring is resistant to grease and water, making it ideal for a food van.
Step 2: Measure the Space
Once you've chosen your flooring, it's time to measure the area of your food van trailer where you'll be installing the flooring. Use a tape measure to get accurate length and width measurements. Make sure to measure the entire floor area, including any nooks and crannies.
Write down your measurements and add a little extra (about 5 - 10%) to account for cutting and fitting errors. For example, if your floor is 10 feet by 20 feet, you'd calculate the area as 10 x 20 = 200 square feet. Then, add 10% (20 square feet) for a total of 220 square feet of flooring needed.
Step 3: Prepare the Surface
Before you start installing the flooring, you need to prepare the surface. This is a crucial step that can affect the longevity of your flooring.
- Clean the Floor: Remove any dirt, debris, grease, or old flooring from the surface. You can use a degreaser and a scrub brush to get the floor really clean. Rinse the floor thoroughly and let it dry completely.
- Level the Surface: Check if the floor is level. If there are any bumps or dips, you may need to use a self - leveling compound to even out the surface. Follow the instructions on the compound package carefully.
Step 4: Install the Flooring
Now comes the fun part - installing the flooring! The installation process will vary depending on the type of flooring you've chosen.
Vinyl Flooring Installation
- Lay Out the Flooring: Roll out the vinyl flooring in the food van trailer, making sure it covers the entire area. Let it acclimate to the temperature of the van for a few hours if the manufacturer recommends it.
- Cut the Flooring: Use a utility knife to cut the vinyl to fit the shape of the floor. Make precise cuts around any fixtures or obstacles.
- Apply Adhesive: If your vinyl flooring requires adhesive, spread it evenly on the floor using a notched trowel. Follow the manufacturer's instructions for the type and amount of adhesive to use.
- Press the Flooring Down: Carefully place the vinyl flooring onto the adhesive and press it down firmly. Use a roller to smooth out any air bubbles and ensure good adhesion.
Epoxy Flooring Installation
- Mix the Epoxy: Follow the manufacturer's instructions to mix the epoxy resin and hardener. Use a drill with a mixing paddle for a thorough mix.
- Apply the Epoxy: Pour the mixed epoxy onto the prepared floor and spread it evenly using a squeegee. You may need to apply multiple coats for a smooth and durable finish.
- Let it Cure: Allow the epoxy to cure according to the manufacturer's recommended time. This can take anywhere from a few hours to a couple of days.
Rubber Flooring Installation
- Lay the Rubber Tiles: Start laying the rubber tiles in one corner of the floor. Most rubber tiles are interlocking, so they're easy to install. Simply snap the tiles together.
- Trim the Tiles: Use a utility knife to trim the rubber tiles to fit around the edges and any fixtures.
Step 5: Finishing Touches
After the flooring is installed, there are a few finishing touches to make sure everything looks and functions great.
- Seal the Edges: Use a sealant around the edges of the flooring to prevent water and dirt from getting underneath. This will also give your floor a clean look.
- Install Baseboards: Baseboards can protect the edges of your flooring and add a professional touch. You can choose from different materials like wood, vinyl, or rubber.
Why Our Food Van Trailers Are Great for Flooring Installation
As a food van trailer supplier, we offer trailers that are designed to make flooring installation easy. Our trailers have a flat and sturdy base, which is perfect for laying down any type of flooring.

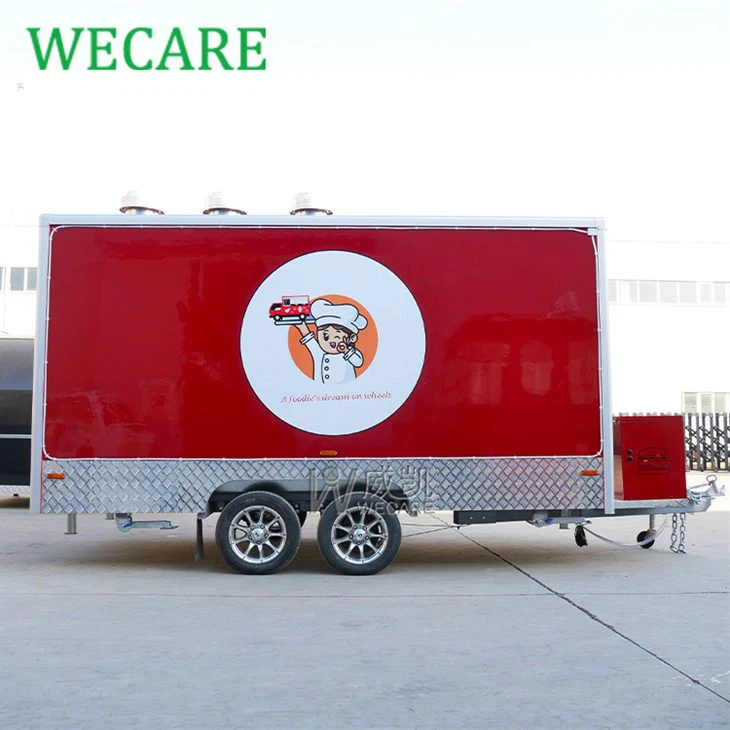
We also have a variety of trailer models to choose from. For example, the Airstream Ice Cream Trailer has a spacious interior that allows for flexible flooring installation. The Container Bar Cafe is another great option, with its unique design that can accommodate different flooring styles. And if you're looking for a basic yet reliable option, our Brand New Food Trailer is a top choice.
Contact Us for Your Flooring and Trailer Needs
If you're interested in purchasing a food van trailer or need more advice on flooring installation, don't hesitate to get in touch. We're here to help you every step of the way. Whether you're a new business owner starting out or an established food vendor looking to upgrade, we've got the trailers and expertise to meet your needs.
References
- Flooring installation guides from major flooring manufacturers.
- Industry best practices for food van trailer design and maintenance.
Send Inquiry